
AI News
01 Feb 2026
Read 9 min
Photoshop Firefly Generative Fill tutorial How to reach 2K
Photoshop Firefly Generative Fill tutorial enables 2K edits with fewer artifacts and better matches.
Photoshop Firefly Generative Fill tutorial: Learn how to get cleaner, sharper AI edits that now render up to 2K, with better prompt matching and fewer artifacts. See how Reference Image improves realism with geometry-aware results, and finish with quick tips for Dynamic Text and new Clarity, Dehaze, and Grain adjustment layers.
Adobe is rolling out key upgrades to Photoshop’s Firefly-powered tools. Generative Fill, Generative Expand, and Remove now produce higher-quality results, with outputs up to 2K, improved detail, and better prompt accuracy. The Reference Image option for Generative Fill gets smarter, delivering geometry-aware results that better match the scene. Below is a clear, step-by-step guide to help you hit 2K quality and keep edits looking real.
Update Photoshop to the latest version to enable the new Firefly improvements.
Open a high-resolution image when you can. AI results look best when the base photo has enough pixels.
Work non-destructively. Use layers and masks so you can fine-tune or revert anytime.
Select the area you want to change with any selection tool (Lasso, Object Selection, or a quick mask).
Click Generative Fill. Type a brief, clear prompt. Keep it specific: “add a wooden table with soft afternoon light,” not “add a table.”
Use Reference Image for realism. Add a reference photo that matches your scene’s angle, light, and style. The update applies geometry-aware matching to fit perspective better.
Generate variations and compare at 100% zoom. Pick the cleanest option with the best edge blend and texture detail.
Refine with a soft mask. Brush the mask edge to hide halos and blend lighting. Lower layer opacity slightly if the insert looks too bold.
Confirm size. The refreshed model now returns results up to 2K. Keep overall document size at or above that level (Image > Image Size) to preserve detail when exporting.
This Photoshop Firefly Generative Fill tutorial focuses on clarity: short prompts, correct reference, and careful mask blending give you a natural look without artifacts.
Increase the canvas (Crop tool > pull the handles outward with Content-Aware “Generative Expand” active).
Use a short prompt or leave it blank if you only want realistic scene continuation.
Guide with a Reference Image when your background has clear lines or architecture. The geometry-aware upgrade helps continue walls, floors, and horizons in the right direction.
Check edges for repeating textures. If you see patterns, generate another variation or soften with the Clone Stamp at low opacity.
Pick the Remove tool (formerly a healing-style tool) to erase distractions like wires, spots, or small objects.
Brush over the target area with a slightly larger brush than the object.
Evaluate shadows and reflections. If they look off, try a second pass or touch up with the Healing Brush for a seamless finish.
Match light and shadow. Use a Curves or Levels adjustment on the generated layer to match the scene’s contrast.
Mind perspective. Use Transform > Warp on the generated layer if the angle is slightly off.
Blend color. Add a Color Balance or Hue/Saturation adjustment clipped to the generated layer to harmonize tones.
Use subtle noise. A tiny Grain helps unify sharp AI elements with the original photo.
Create a text layer. Use the new Dynamic Text beta to bend or curve the text without converting to outlines.
Adjust the curve and baseline for banners, badges, or logos. Keep it editable for later changes.
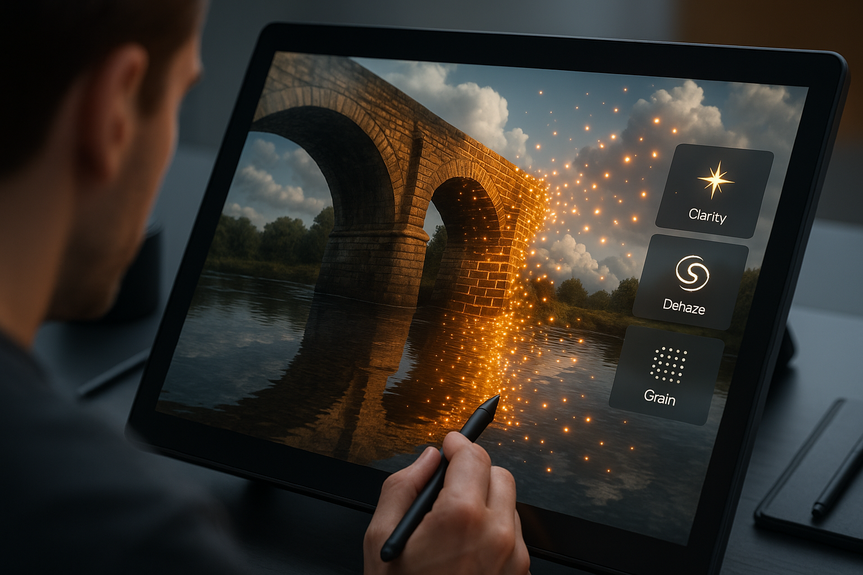
Clarity: Boost midtone contrast to add punch to flat areas or to make AI inserts match the scene’s micro-contrast.
Dehaze: Cut fog or haze, or use a light pass to recover depth in distant backgrounds after Generative Expand.
Grain: Add fine, even texture to unify the final image. A small amount often hides subtle AI smoothness.
Stack and mask these adjustments. Because they are adjustment layers, you can refine selectively without damaging pixels.
Use File > Export > Export As. Choose PNG for lossless or JPEG with quality 90–100 for web.
Keep Scale at 100%. Avoid downscaling below the generated pixel size.
If you need to resize, do it once at the end. Use “Resample: Automatic” and check sharpness after export.
Plan the edit. Decide what to add, expand, or remove.
Run Generative Fill with a clear prompt; add a Reference Image for tough angles.
Polish edges and tone with masks and local adjustments.
Unify the image using Clarity, Dehaze, and a touch of Grain.
Export at full size to keep the new 2K detail intact.
Use this Photoshop Firefly Generative Fill tutorial as a simple, repeatable process: update Photoshop, write clear prompts, use references for geometry-aware matches, and finish with light adjustments. With the latest upgrade, you can reach cleaner 2K outputs faster, with fewer artifacts and more believable results from start to finish.
Photoshop Firefly Generative Fill tutorial: Reach 2K results fast
Check your setup
Generative Fill: Steps for sharper, cleaner 2K results
Generative Expand: Extend canvas without losing quality
Remove: Cleaner cleanup with fewer artifacts
Pro tips to keep AI edits believable
Work faster with Photoshop’s new extras
Dynamic Text (beta): Curved type in seconds
New adjustment layers: Clarity, Dehaze, and Grain
Simple export settings to keep 2K quality
Common workflow for fast, realistic results
For more news: Click Here
FAQ
Q: What are the main upgrades to Photoshop’s Firefly-powered editing tools?
A: Adobe improved Generative Fill, Generative Expand and Remove to produce higher-quality outputs up to 2K, with increased detail, fewer artifacts and better prompt matching. The Reference Image option also delivers geometry-aware results that better match the scene.
Q: How should I prepare my file and Photoshop before using the updated Firefly tools?
A: Update Photoshop to the latest version, open a high-resolution source image, and work non-destructively with layers and masks so you can refine or revert edits. Also keep your overall document size at or above 2K (Image > Image Size) to preserve detail when exporting.
Q: What step-by-step workflow does the Photoshop Firefly Generative Fill tutorial recommend for reaching cleaner 2K results?
A: In this Photoshop Firefly Generative Fill tutorial, select the area you want to edit with a Lasso, Object Selection, or quick mask, click Generative Fill and enter a brief, specific prompt. Add a Reference Image that matches angle and light for geometry-aware matching, generate variations at 100% zoom, refine edges with a soft mask and slight opacity adjustments, and confirm document size at or above 2K to preserve detail.
Q: How does the Reference Image option improve realism, and when should I use it?
A: The Reference Image option delivers geometry-aware results that better match scene perspective, angle, lighting and style. Use it when your scene has clear lines, architecture, or tricky angles so generated content fits geometry and perspective more naturally.
Q: How do I use Generative Expand to extend a canvas without losing quality?
A: Increase the canvas with the Crop tool by pulling the handles outward while Content-Aware “Generative Expand” is active, then use a short prompt or leave it blank for realistic scene continuation. Guide the expansion with a Reference Image for structured backgrounds like walls or horizons, and check edges for repeating textures, softening or re-generating variations if needed.
Q: What’s the best way to remove unwanted objects using the updated Remove tool?
A: Pick the Remove tool and brush over the target area using a brush slightly larger than the object, then evaluate shadows and reflections for consistency. If the result looks off, run a second pass or touch up with the Healing Brush for a seamless finish.
Q: What pro tips help blend AI-generated elements so edits look believable?
A: Match light and shadow using Curves or Levels and fix perspective with Transform > Warp, then harmonize tones with Color Balance or Hue/Saturation clipped to the generated layer. Use the new Clarity and Dehaze adjustment layers to boost midtone contrast or reduce haze and add a small amount of Grain to unify textures.
Q: What export settings preserve the 2K quality of generative edits?
A: Use File > Export > Export As and choose PNG for lossless or JPEG with quality 90–100, keeping Scale at 100% to avoid downscaling. If you need to resize, do it once at the end with Resample set to Automatic and check sharpness after export.
Contents